Seasonal discounts on select crafts

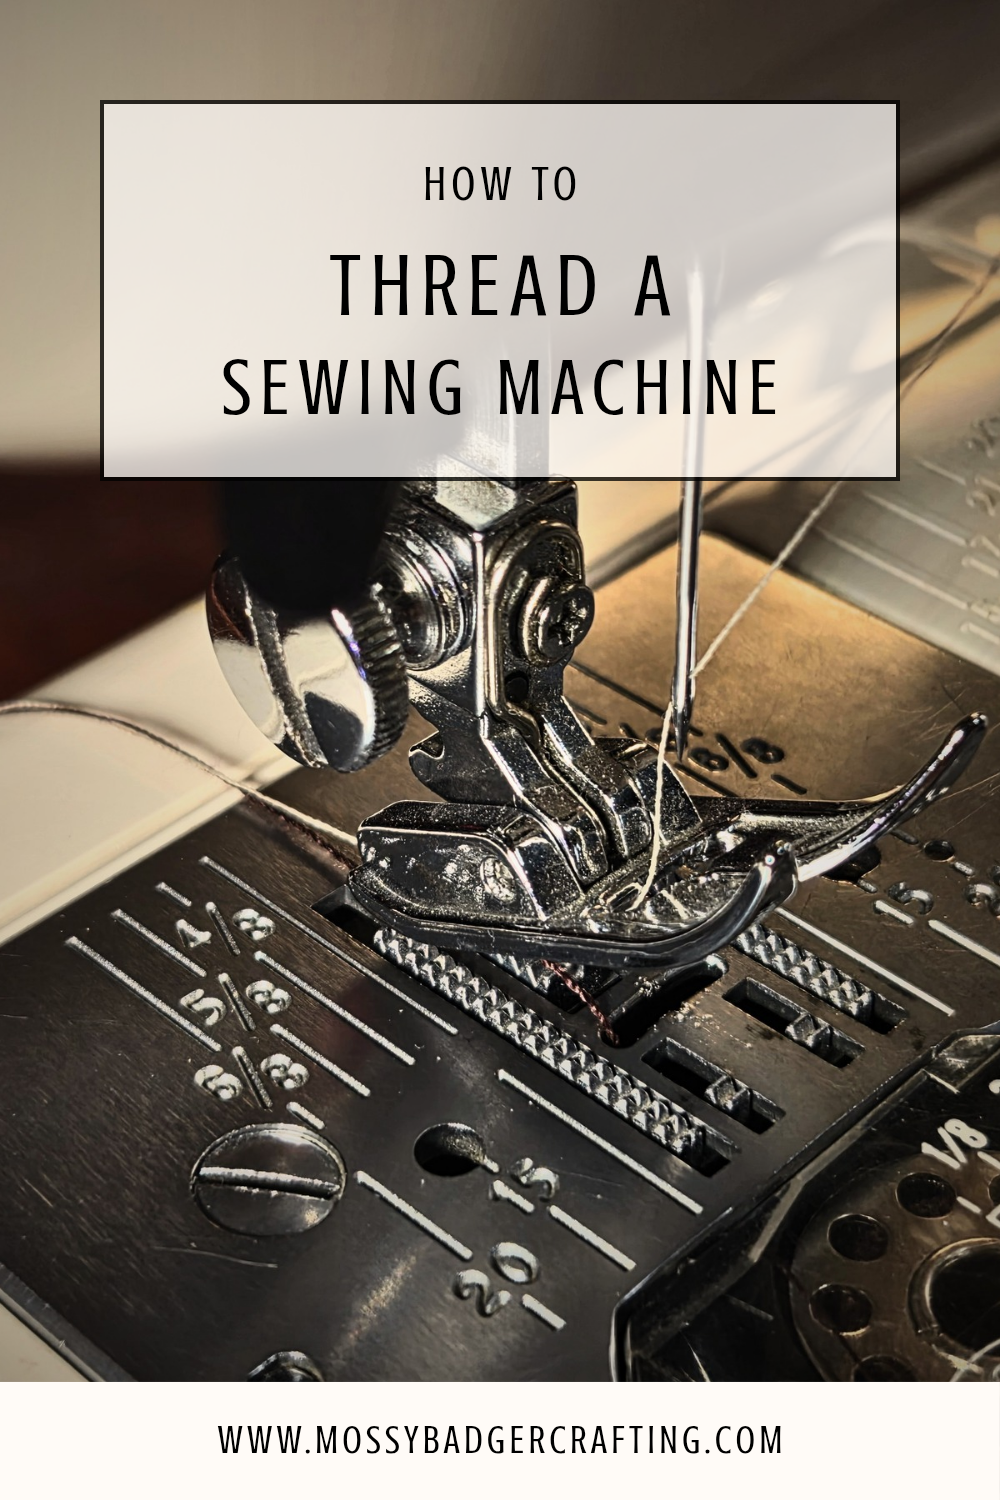
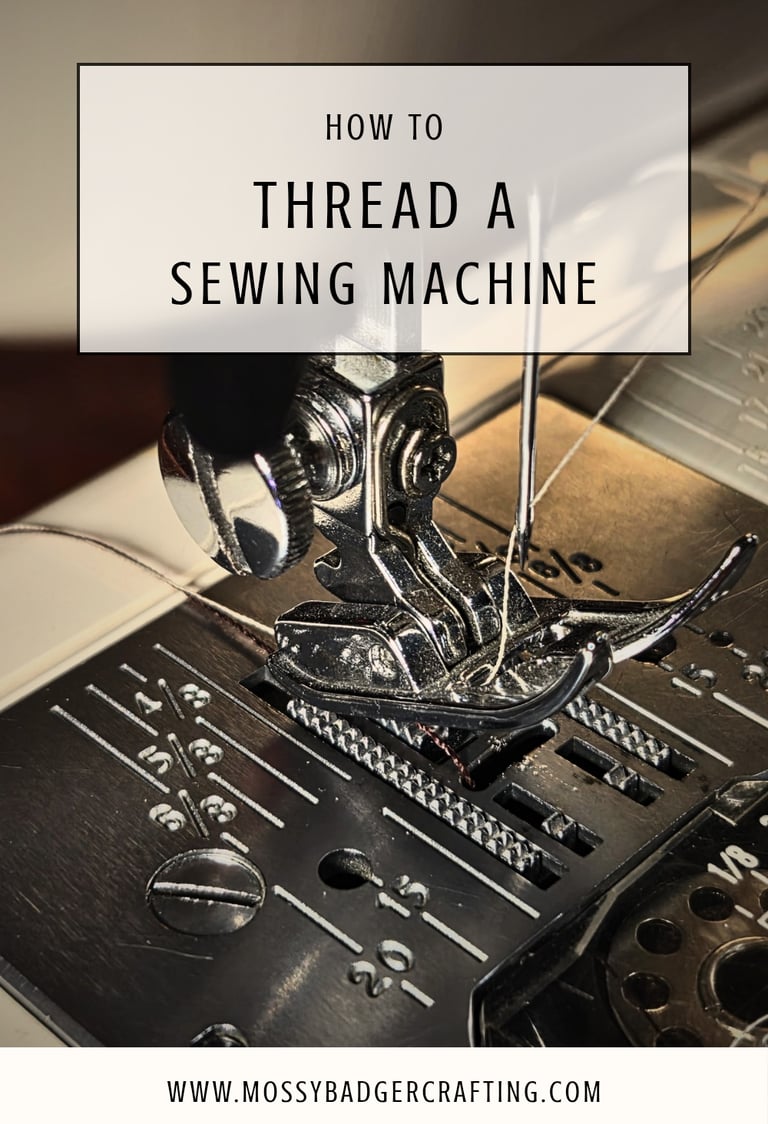
How to Thread a Sewing Machine
A simple but detailed tutorial for how to thread a sewing machine. We will review where most beginners get things tangled and how to get started.
Jess
6/1/20264 min read
One of the hardest parts of trying a new hobby is getting started. For a hobby like sewing that means setting up your sewing machine and making a single line of stitches without having a jumbled knotted mess! Once you learn why your Machine is set up the way it is, you can make just about anything you set your mind to!
Getting Started
Sewing machines use two spools of thread that are mechanically looped together from the two sides of fabric to make a stitch. This means you can either keep the two threads of matching color, as is most common, or in contrasting colors. Most machines have a feature at the top of the machine that will allow you to wind an empty bobbin full of the same thread as the larger spool.
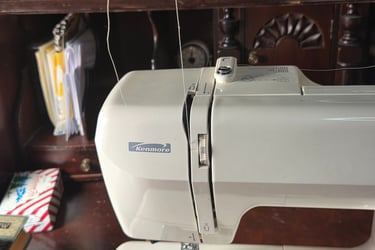
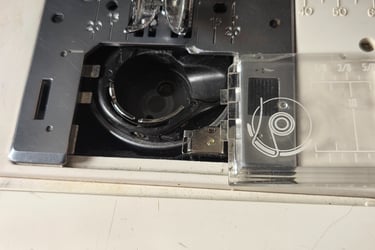
Step 1: Preparing your Threads and Bobbins
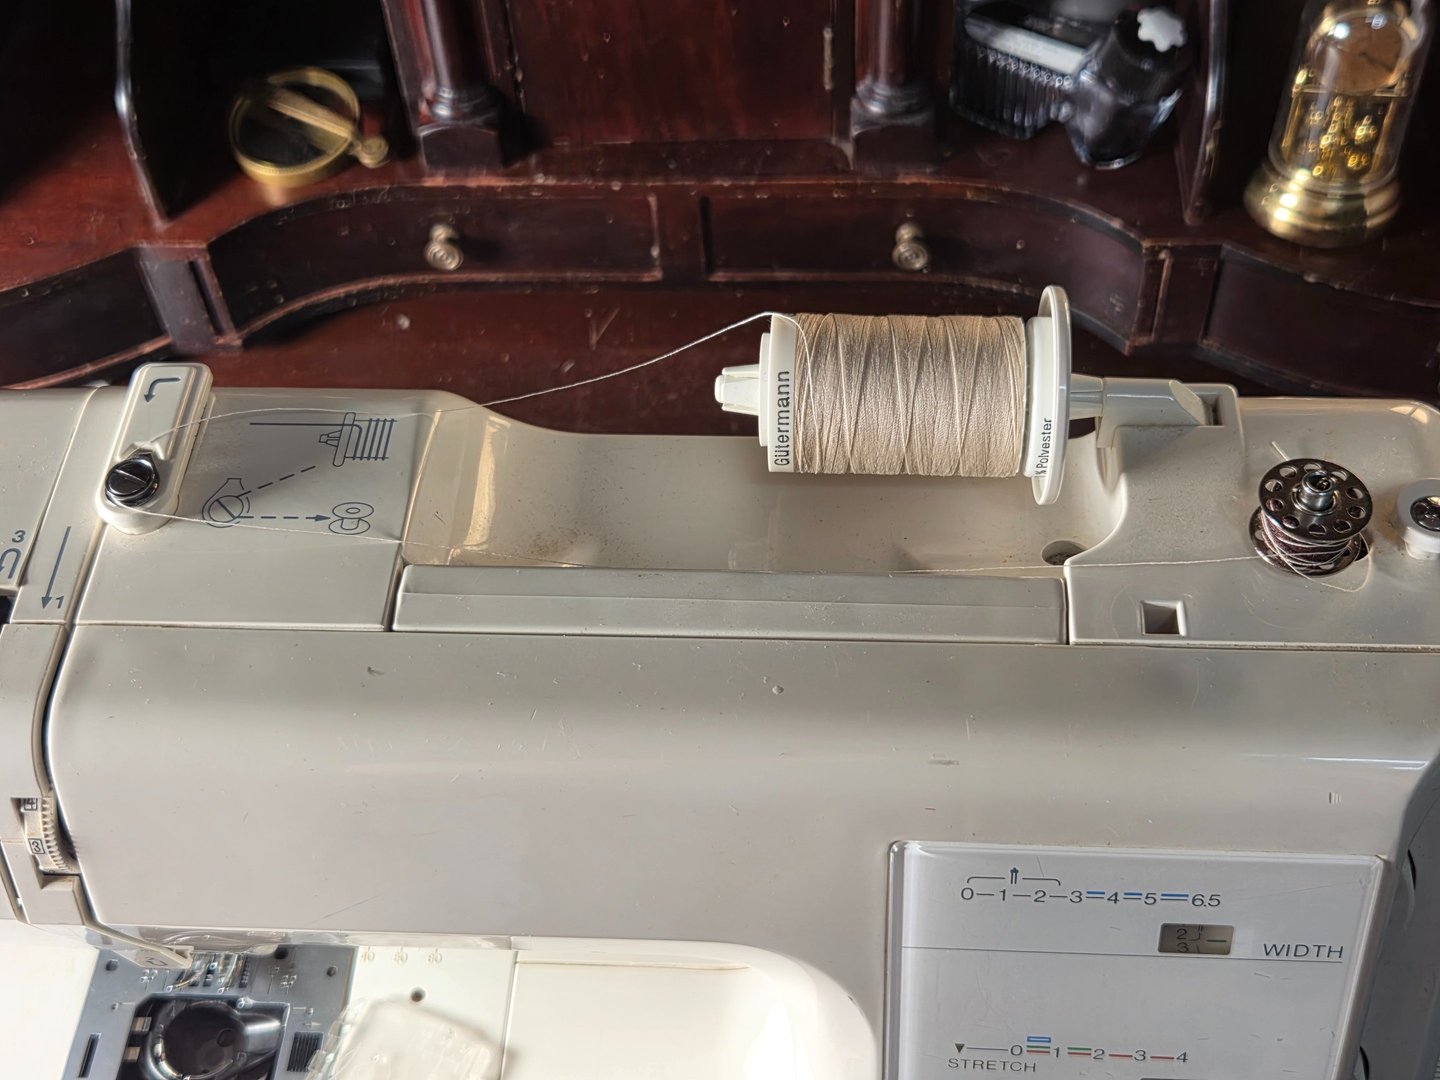
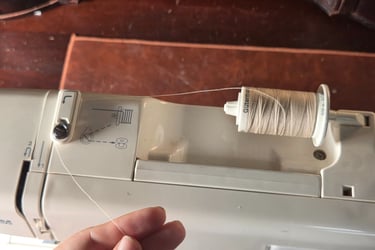
After loading the spool and bobbin as per the picture above, You push the bobbin pin to the right to get it to spin using the foot peddle. The motor of the machine will either run the left stitching mechanism or spin the top bobbin depending on if the bobbin pin is switched left or right. After the bobbin is full of thread it will automatically push off its switch to run the other end of the machine instead. At this point, you would cut the threads and load the machine for stitching.
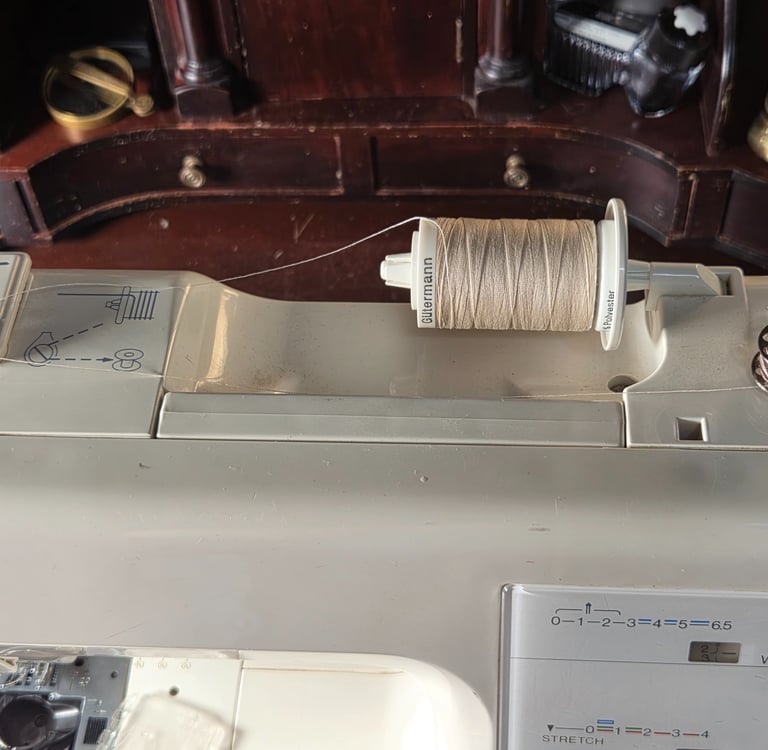
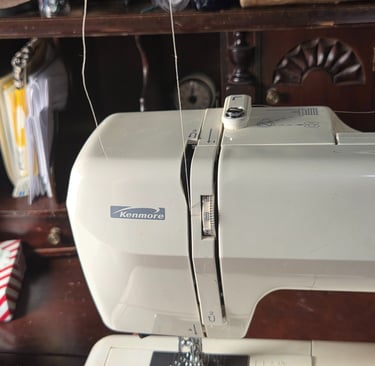
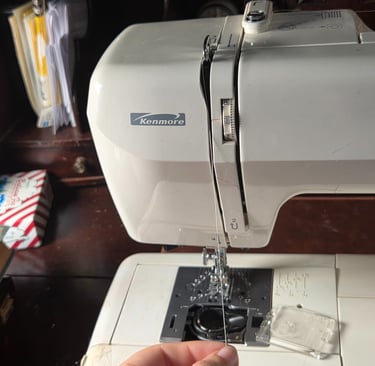
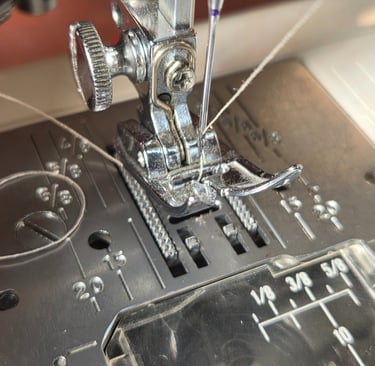
Step 2: Loading the Top Thread
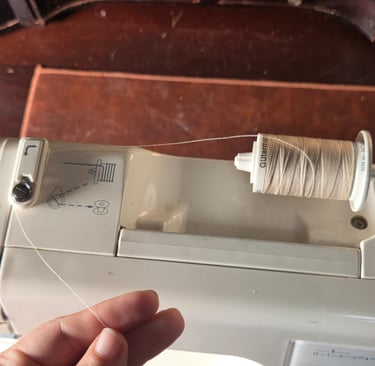
The larger spool should already be in position to start threading. Most modern machines will have arrows indicating the direction to place the threads:
It goes around the first post to the left and into the channel
Around the u-shaped turn on the side of the machine
Back up to the top of the machine
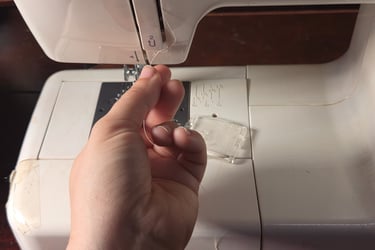

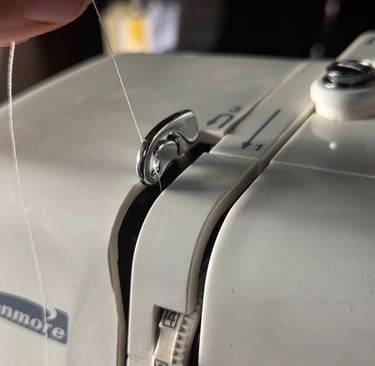
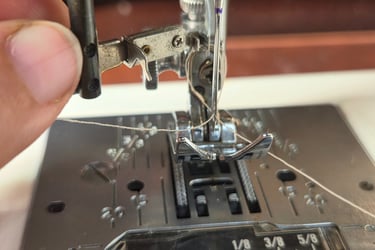
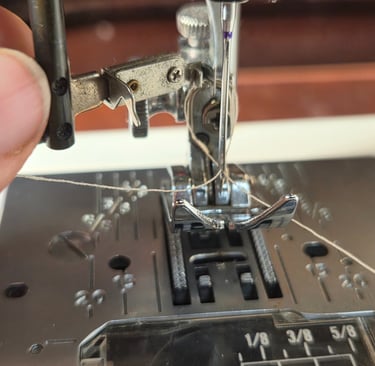
Ensure the needle is at its highest using the hand dial on the side of the machine
Pull the thread through the hole or notch in the moving metal piece that comes out of the channel.
Pull the thread back down the channel to the needle
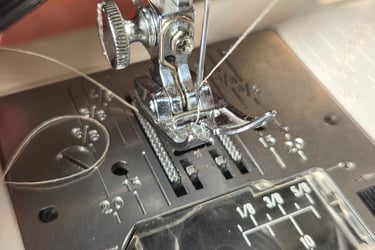
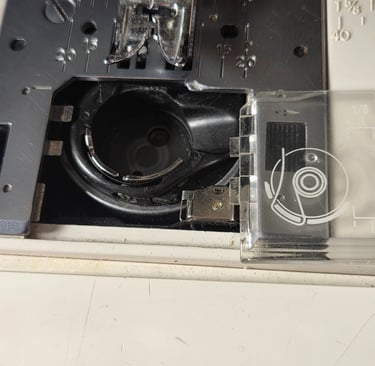
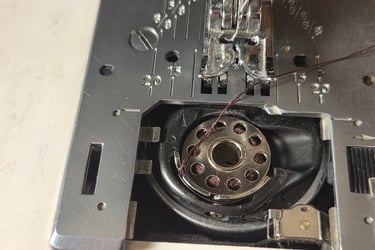
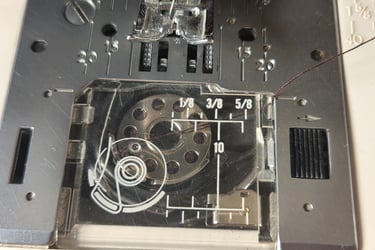
Step 3: Loading the Bottom Bobbin
This is usually where things go wrong for beginners. The way the top thread interreacts with the bottom depends on how the bobbin is loaded into the chassis.
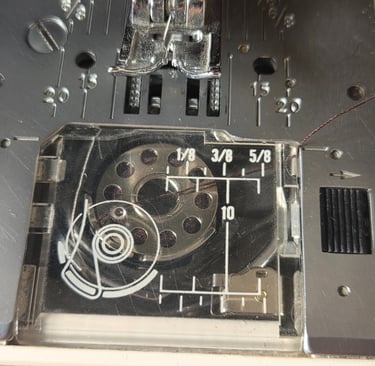
The bobbin is usually loaded with the thread going counter-clockwise.
The thread is pulled through the lowest notch in the chassis
It is then wrapped around the rim and through the other notch to the left

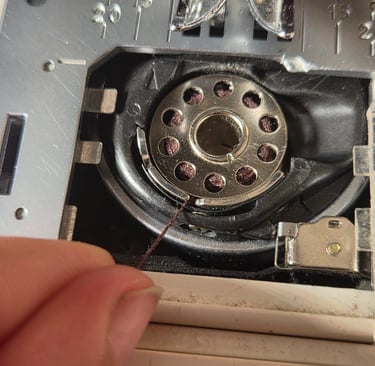
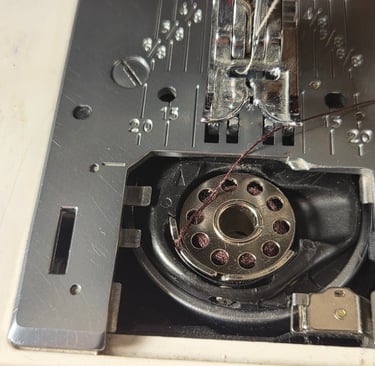
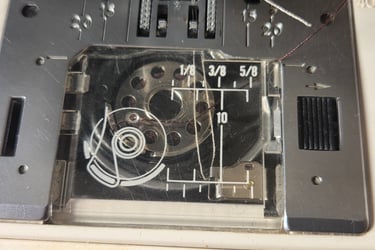
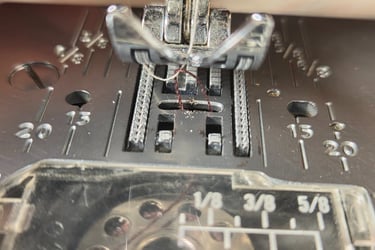
At this point the panel cover goes back, the bottom thread is to the right of the needle, and the top thread is at the back of the machine. Closing the panel on the thread will hold it in place until we can get the top thread to grab it.
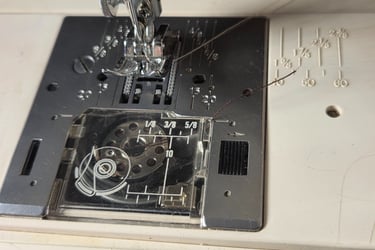
Using the dial lower and raise the needle once
inside the chassis the top thread will loop around the bottom thread
Pull top thread end gently to pull the bottom thread back up the needle hole with it
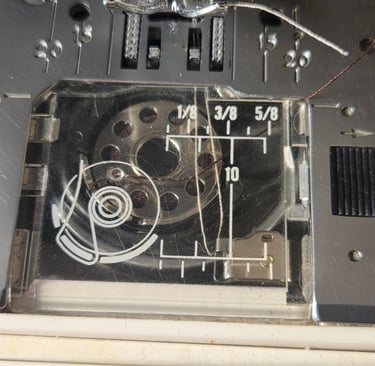
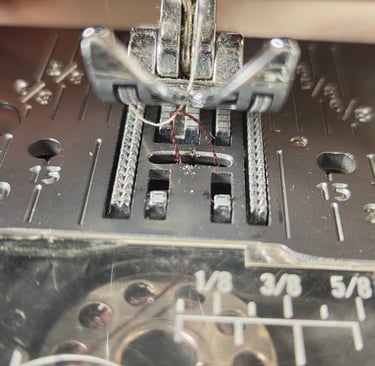
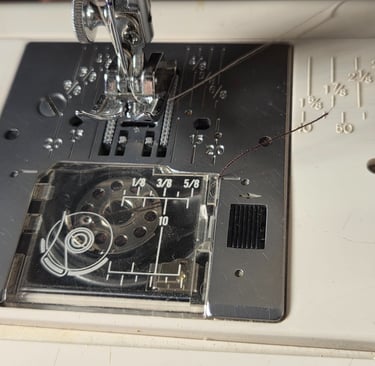
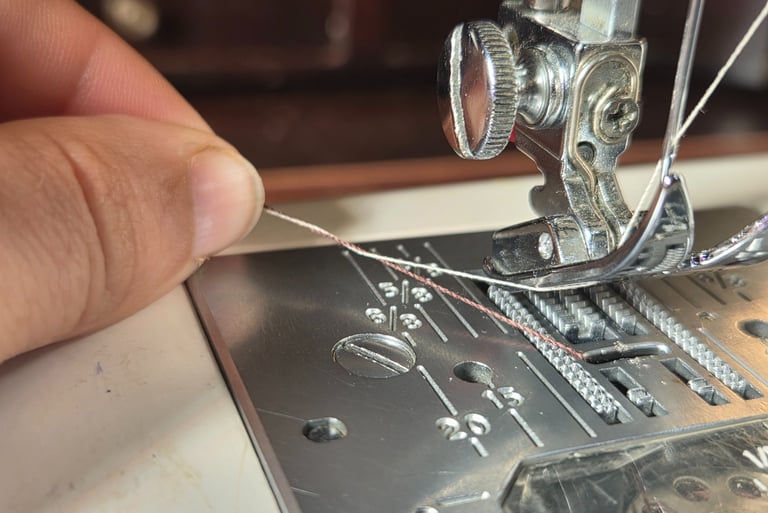
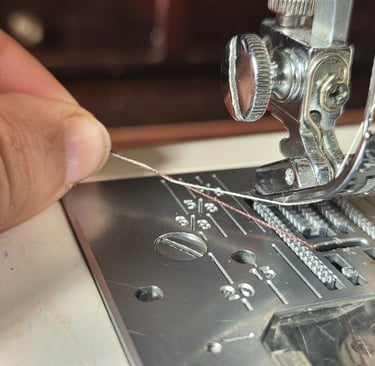
Now pull both threads so that lie flat towards the back of the machine and you are ready to start stitching!
Good Luck with you next projects!
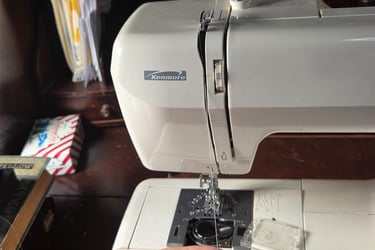
Step 4: Get Crafting!
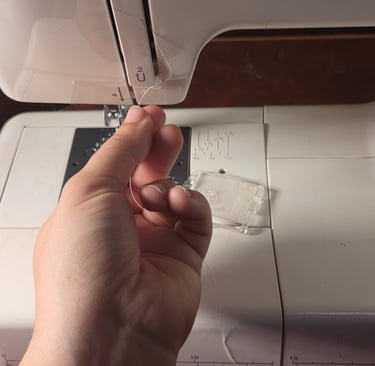
Use the needle threader to pull the thread through the eye of the needle from front to back
Pull the thread under the foot and to the back of the machine
Keeping the finished threads at the back of the machine will help keep them untangled
Stay Connected
Come follow us on social media to see new releases!
Contact
Newsletter
jessbilotta@yahoo.com
© 2024. All rights reserved.